

Yesterday I did upgrade my Keychron K3 v1, white backlit, and brown Keychron optical switches. I think it's a good idea to share details with you. The Keychron K3 is a good keyboard by default. However, it has some things which I don't like. They are typing sounds, quality of keycaps plastic, and actuation weight. So I decided to fix them all.
You better buy a default keyboard with cherry switches to play in keyboard customization. However, if you already have Keychron K3 and want to improve it, welcome undercut.
Story
As I said before, I would like to fix: the scratchy sounds, tactile feeling of keycaps, and actuation weight. Keychron promised to bring new keycaps for K3 keyboards. And, finally, they did it! Honestly, I was thinking of avoiding any upgrade for my K3. I thought about buying a new keyboard to play around with. But Keychron realized new keycaps. So I decided to do that.
I bought keycaps and ordered Keychron Optical Mint switches to change the actuation weight.
 Keychron K3 version 1 brown optical switches
Preparation
To make the same upgrade, you need keycaps, switches, some tape, a screwdriver, a switches puller, a keycaps puller, and maybe a knife.
Why do we need tape for the upgrade? Long answer short, we will use a tape to suppress sound a bit. Modders improve keyboard sounds by adding tape on the back side of the PCB. If you want more information about that, check out this video.


 Things which you need to make Keychron K3 upgrade
As for tape, you could use any. I used that type of tape: for guys who paint walls and do other things with painting something. I don't know what to call it.
Step 1 - Removing keycaps and switches
Let's remove keycaps and switches first. Don't forget to clean the keyboard a bit. I cleaned it before removing the switches to avoid putting some dust inside PCB.


 Removing default keycaps and switches from Keychron K3
Step 2 - Disassembling
You should remove four screws on the front side to disassemble the keyboard. And then use something to unblock latches. Better to use specialized tools. I didn't have one, so I used a knife. Be careful with a knife because you could damage a keyboard, case, or PCB.
Don't forget to disconnect the battery. And you don't want to break the cable/connector of the battery. Better to turn off any power on PCB.


 Disassembling Keychron K3
Step 3 - Installing new switches
The next step is tape mode. But I recommend installing switches first. Each switch has a leg. That leg sticks out on the other side of the board. Better install switches and then put tape.

 Installing new switches Keychron K3
Step 4 - Tape mode
To make tape mode, we need to put some tape on the back side of the PCB. At first, I made three layers of tape. But then I wasn't able to assemble the keyboard. Even with dots for screws, the USB port backside couldn't connect correctly to the front side.
So I removed one layer. It helps a lot.
Also, don't put a lot of tape on the left and right sides of the PCB. The keyboard case has latches to connect two-part. The tape there could stop them from connecting.


 Tape mode Keychron K3
Step 5 - Installing keycaps
Okay, then I cleaned the keyboard a bit and installed keycaps. Nothing special is here.


 New keycaps Keychron K3
Final result of upgrade Keychron K3
Woohoo, this is the end. The upgrade of Keychron K3 is done!
Now the keyboard has a different look. Let's discuss what became better and what is worse.
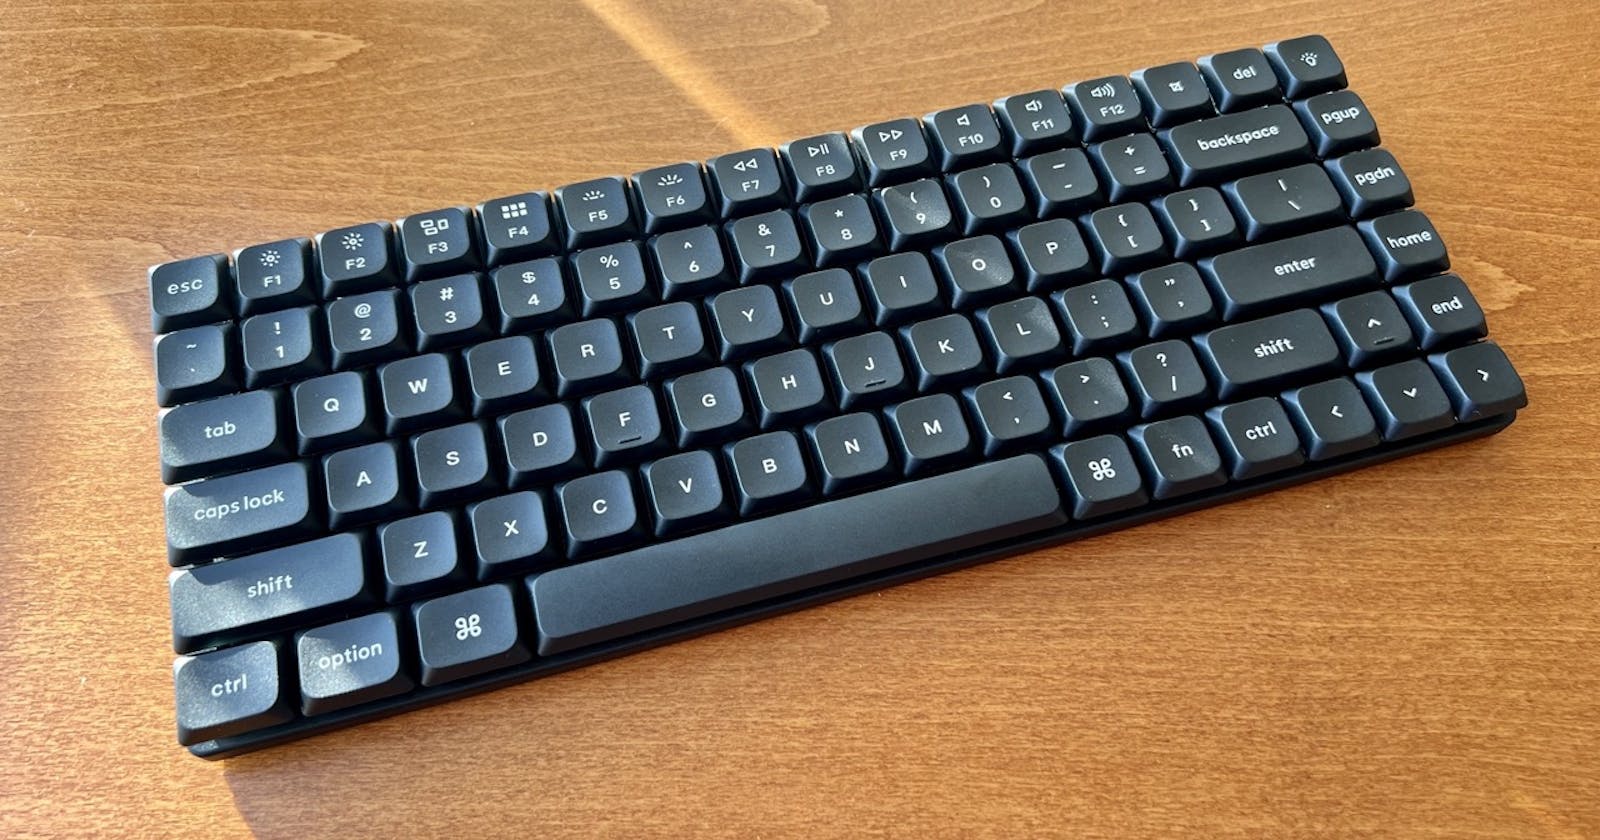
 Upgraded Keychron K3 with new keycaps and switches
Bad things
Bad things go first. Default keycaps could pass through the light. New keycaps can't do that. So light is visible only behind the new keycaps. If you liked the default design, you might not want a new one. The keyboard became black.
I guess there aren't any additional bad things about upgrade Keychron K3.
Good things
I don't think there are some terrible things. However, I got all of the following items:
- Better sound quality. It was improved by a tape mod, new keycaps, and maybe new switches.
- Better tactile quality. I like new keycaps plastic.
- I like the new actuation weight.
Also, those items could be counted as pros:
- This upgrade is pretty cheap.
- You don't have a lot of time to do that.
- You don't need to lube each switch. It isn't necessary.
Conclusion
Is it worth making an upgrade for Keychon K3? Yes, it is, but if you already have Keychron K3 v1/v2. If you like this keyboard but don't have it yet, I recommend looking at Keychron K3 Pro. The new keyboard will be available soon (article written in October 2022).
I hope you enjoyed the article. If yes, don't forget to share it with your friends.